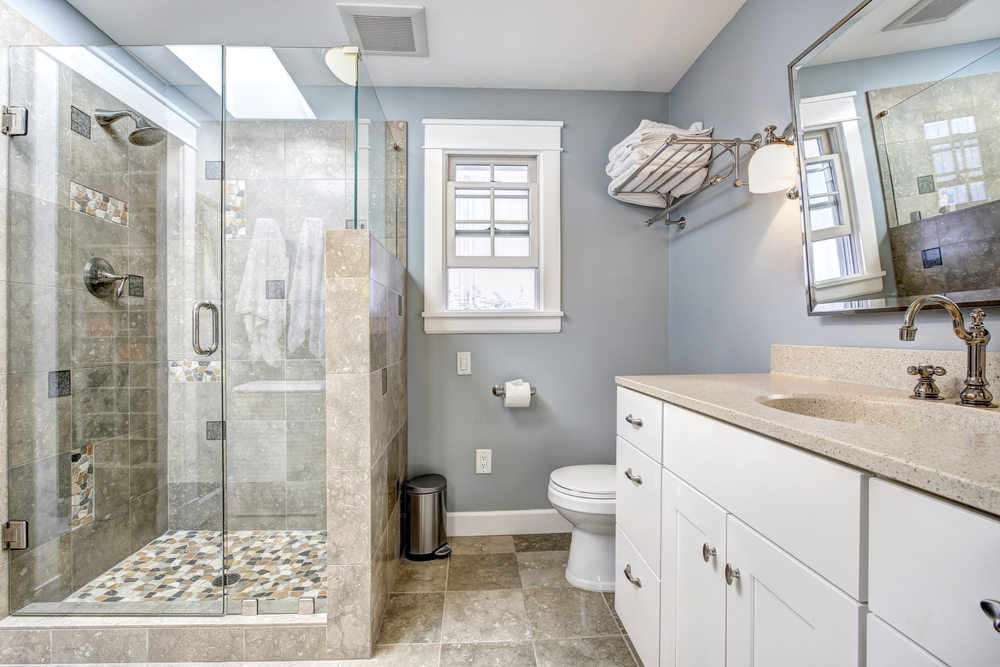
Dirty grout and cracked tile can give away the age of your bathroom faster than a gray hair. But the cost of materials and labor might make you reluctant to retile your bathroom floors. Hey, no judgment! Home repair can be expensive and you’re not the only one hoping the floor fairy will come by and take care of the job free of charge. While we can’t tile your bathroom floors for you, we can offer these DIY bathroom-tiling tips for getting it done yourself.
While you are at it, why not get the bathroom of your dreams with ready to assemble bathroom vanities from TheRTAStore.com! All of our RTA & DIY bathroom vanity cabinets are solid wood and plywood, for the utmost quality with a budget in mind.
Make sure your tile has the right foundation.

The key to tile is the foundation it is installed upon. Ever try to level a table or chair and realize certain spots in your house make leveling impossible? Has some of your tile cracked while others remain intact? Uneven floors and a weak base can leave even the most expensive tiling jobs lacking luster. Make sure yours isn’t by pulling up a floor register (or you can take off the threshold of the door) to check how thick your floor is. If it’s not thick enough, you’ll need to lay down material before installing rather than putting your tile right on the vinyl. However, if it is thick enough you should be able to lay tile right on the vinyl.
Prepare your sub-flooring so that it is tile ready.
A good size for subflooring is 1 ¼ inch, and that can be a combination of materials. You can use strand board, plywood, or a durable cement backer board that is concrete-based and waterproof, making it safe for wet areas like the bathroom. When installing your new sub-floor, you’ll need glue and screws to secure the new materials onto your existing sub-floor. Once you’ve installed your sub-flooring, you’ll want to cover it with a waterproof membrane before tiling. This underlayment will also help with waterproofing, and will give your flooring a little flex to soften the impact, distribute weight, and suppress cracking.
When tiling older homes, take caution.
Homes that were built before 1980 could present an asbestos issue. In the past, tile, flooring, and other materials contained asbestos, which is a carcinogen. If you have an older home, you won’t want to rip out the old flooring in the case that it does contain asbestos. You are however able to use an ammonia-based cleaner to remove dirt and wax before installing your new tile directly over your old flooring. If you are unsure of how to proceed, you can contact your city’s building and development department. They should be able to provide you more details about your home and best practices for dealing with asbestos.
If you are tiling walls too, start at the top.
If you’re tiling your bathroom walls in addition to the floor, your easiest method will be to work from top to bottom. Bathroom vanities, toilets, and other fixtures, as well as plumbing, can all prove to be obstacles when tiling a bathroom. Identify these issues at the beginning by mapping out your project, and then start at the ceiling so your new bathroom walls don’t compromise your new flooring.
Did you know TheRTAStore is more than just kitchen cabinets? We have bathroom vanities in every style, shape, size, finish and budget to turn your dream bathroom into a reality. Then, finish it off with decorative mirrors, linen cabinets, accessories, and more. Contact us today and utilize our top-rated, free design service (it’s not just for kitchens!) to create the bathroom you’ve only dreamt about!