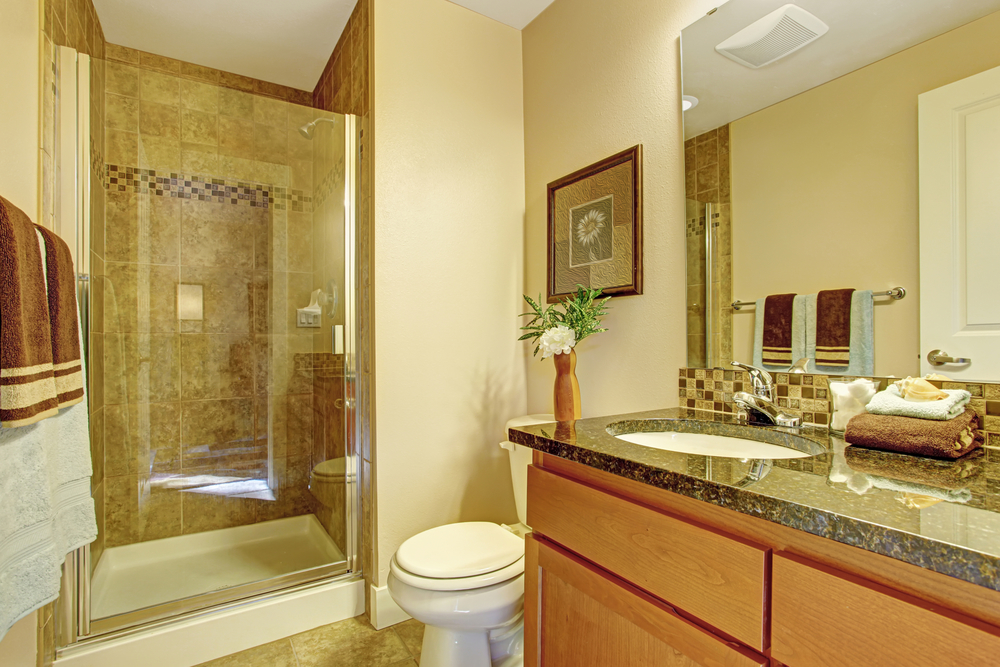
Eventually, every bathroom needs a makeover — but updates can be expensive. If you’re up for it, taking on a DIY project can help you address specific issues in your bathroom remodel while keeping costs low. Years of use can cause old bathroom tile to discolored in your shower, and depending on how well the installation was done, you may even see cracking or signs of water damage. If you follow these steps you can learn how to install backsplash tile in your bathroom shower in just a few short days.
 1. Pick your tile. There are many varieties of tile and installation patterns. With a running bond pattern, tiles are laid end to end. With a stacked pattern, tile is lined up horizontally in straight columns. And a herringbone or chevron style will zigzag throughout. For simplicity, we’ll go with a running bond installation, which allows for the most beginners’ error.
2. Prep your wall. You’ll want your wall to be clean and ready for your new tile. First, you’ll remove your old tile, then you’ll scrape off any remaining grout or adhesive left behind on the wall. Be sure to use an approved waterproof backer board to help prevent any water leakage.
3. Create a guide. The base of your shower may not be square or even. Instead of using that as your foundation, skip up a little and attach a piece of wood board straight across to use as your guide.
4. Mix your adhesive mortar until it has a peanut butter-like consistency. You can also purchase pre-mixed mortar specific to the type of tile that might be better suited for your project.
5. Apply adhesive to a small area on the shower wall where you will begin working. Using a notched trowel, comb the adhesive and wipe any extra material back into your mix. Using your piece of wood as a guide, lay your first tile onto the adhesive.
6. Repeat step 5 moving horizontally and placing spacers between the tiles.
 7. Complete the first row. You may have to cut a tile to get around corners and to complete each row. Once a row is completed, you’ll continue upwards to the next row. Check your work from time to time to make sure you’re still in alignment and your pattern looks correct.
8. Remove the wooden board. Once all of your tile has been installed, it’s time to remove your board and tile the first row. To achieve straight lines throughout your installation, this row may require you to cut tile down individually. That’s okay. Even though it is a little more time consuming, it’s an easy way to achieve good alignment throughout your shower.
9. Let tile dry. Give the tile 24 hours before removing your spacers. This will allow the adhesive to fully dry.
10. Mix grout, but only enough to cover a small area at a time. If you mix your grout too far in advance, it will dry out before it ever makes it to the wall. When installing, apply grout using a rubber grout float and keep a wet sponge on hand to gently wipe off excess material every so often.
11. Apply sealer over grout and a silicone sealant around the corners and edges of the shower. Preferably wait a few days to execute this last step. Depending on the type of tile, you may need to use a sealant. Be sure to check the specs for the tile installation to ensure best coverage.
At The RTA Store we help make your dream kitchen or bath a reality with RTA (Ready To Assemble) and Pre-Assembled kitchen cabinets, bathroom vanities, and accessories with the same (if not better) quality you would find at any retail store but for a fraction of the price. Stop by our website or give us a call and let us make your kitchen dreams come true with the help of our free kitchen design tool!