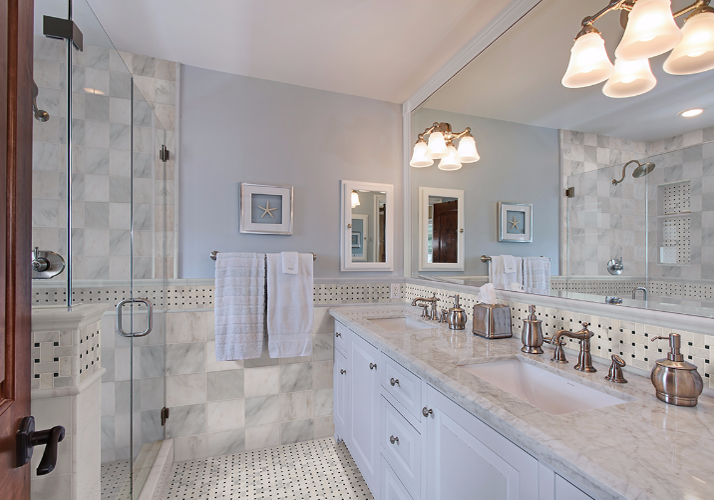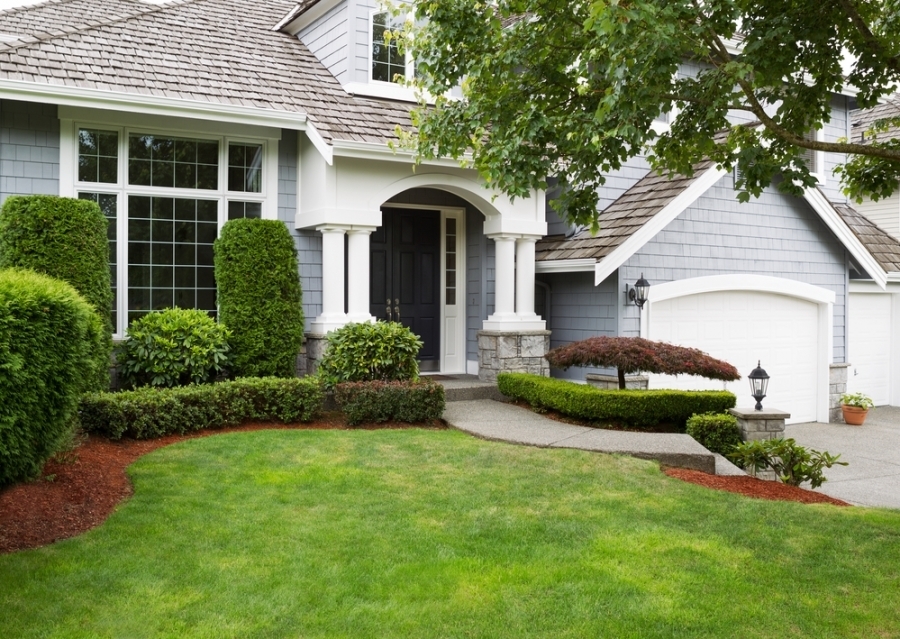
One of the biggest mistakes first-time painters make is not properly prepping their home for their DIY project. While you may be a great interior painter, you’re probably not fully aware of what it takes to paint the exterior of your home. Along with ways to help you do the job right and make the job last longer, here is our guide to get your home ready before you start painting.
Find out when your home was built.

Homes built before 1978 may have paint that contains lead. Lead is a toxic metal and contact through ventilation or ingestion can be dangerous. Lead is especially hazardous to pregnant women and small children. While experiencing lead poisoning is probably unlikely, it’s important to take the proper steps for your safety. If you’re unsure of whether or not the exterior of your home may have paint containing lead, your best bet is to contact your local Environmental Protection Agency or even health department. They should be able to determine if you are at risk, and help you with the necessary steps to ensure safe removal of the paint.
Clean the surface before removing any paint.
Your first instinct may be to start your project by scraping off the existing exterior paint. In reality, cleaning the surface is a better move. To clean the exterior of your home you will need to use water pressure (your garden hose should do the trick or you could rent a pressure washer) and a cleaning agent to help the paint adhere. Be sure to do a good rinse after you finish cleaning.
Remove any flaking paint and repair any damage.
If after washing you notice the paint is flaking you will have to scrape it off. This can easily be done with a wire brush. You’ll also want to take care of any surface flaws you notice at this time. Purchase a repair compound that is safe for exterior surfaces and use it to repair any problems. Once it has dried, you will then sand down the surface.
If the current paint is not flaking, there is no need to scrape it off. You will be able to simply sand down the surface and paint right over it.
 Caulk and add putty.
Before you start painting, you’ll also want to address the caulking around doors and windows. Peel off the existing caulk and apply a new caulk to doors, windows and anywhere else that requires sealing. Check the putty on older windows as well. You will likely want to replace the putty with fresh glazing compound or add DIY mitered moldings as an alternative. It’s really best to take care of the entire exterior at once.
Protect the surrounding of your home.
Of course when painting inside you know to cover floors and drape over any furniture that could be compromised, but you might not realize this rule applies to painting the exterior of your home as well. It’s important to cover the lawn with drop cloths and protect plants and shrubs. Not doing so could destroy your beautiful lawn and landscaping, and could add an unnecessary expense to your DIY exterior painting project.
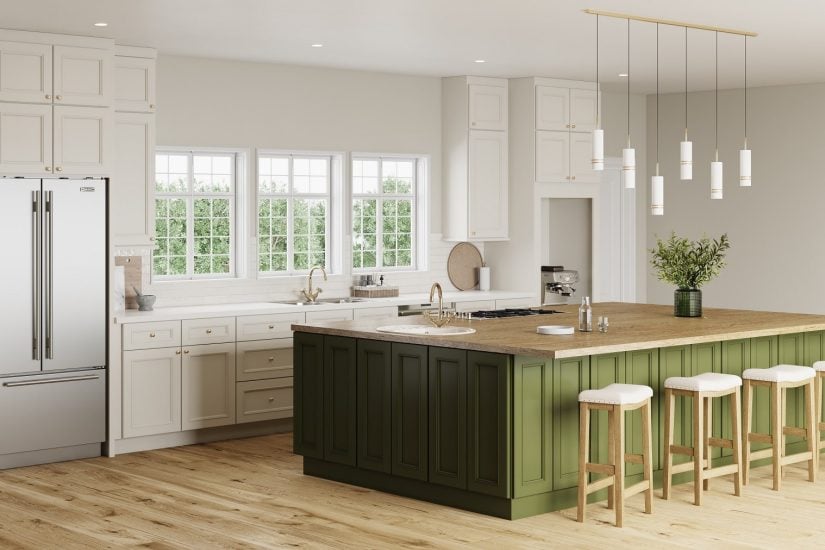
At TheRTAStore we help make your dream kitchen a reality with RTA (Ready To Assemble) cabinets, Pre-Assembled cabinets, and accessories with the same (if not better) quality you would find at any retail store but for a fraction of the price. Stop by our website or give us a call and let one of our friendly kitchen designers help make your kitchen dreams come true!