You can fill summer with camps, movies and beach days and you’ll still have your fair share of idle hours! Keeping kids entertained while school is out can be a challenge, so our DIY Kids series features fun projects you and your kids can team up on this summer. This month’s kid-centric DIY is a simple sandbox for your backyard. But first, raid the pantry cabinet for snacks to keep kids busy while grown-ups use the power tools!
 What You’ll Need:
(12) 4×4 cedar timbers
circular saw
spade
(4) scrap 2×4 pieces of wood
framing square
four-foot level
sledge hammer
landscape fabric
heavy duty drill
3-inch decking screws
6-inch timber screws
wheelbarrow
sand
Step 1: Cut the timbers to desired length.
Each side of your sandbox will require three 4×4 cedar timbers (12 total). Cut your timbers with a circular saw to your desired length, depending how large you want your sandbox to be. Keep in mind that the side of one timber will fit against the end of another, so you should take off an additional 3 ½ inches.
Step 2: Mark the perimeter.
As a guide, you’ll want to place four timbers to show the sandbox perimeter. Arrange them in their rightful position, and use a spade to cut along the interior and exterior border of the timbers. This will mark the perimeter.
Step 3: Dig out the dirt within the perimeter.
Use your spade to dig six-inches deep within the perimeter of your sandbox and discard of the dirt using a wheelbarrow. Then use sand to create a border along the interior of your sandbox. Keep your sand border a few inches wide and about an inch deep.
Step 4: Position your first layer.
Take four timbers and lay them down on top of your sand border, using a framing square in each corner to achieve the perfect shape. To maintain this shape, use scrap 2×4 pieces to hold your timbers in place by attaching them across each corner with screws. Make sure your first layer is even by using a four-foot level and tapping down on each timber with your sledge hammer. You can now unscrew your 2×4 scraps, as your base will be solid.
Step 5: Position your second layer.
Your next set of timbers will stack above those underneath. Place them so that they overlap in the opposite direction of the first layer. Attach the timbers securely together by driving a 6-inch screw through the two layers every three feet around your perimeter.
Step 6: Add landscape fabric.
To keep your sand from mixing with dirt, lay down a piece of landscape fabric. Drape it over your sandbox to completely cover the bottom and exterior sides. Push the fabric down snugly along the interior edges.
 Step 7: Position your third layer.
Have your helpers hold the landscape fabric in place as you lay down your third layer of timbers. Again, you’ll want your timbers to be placed perfectly over the layer beneath but in the opposite direction. Secure the third layer to the second using screws. Trim any excess landscape fabric around the exterior and pour in sand.
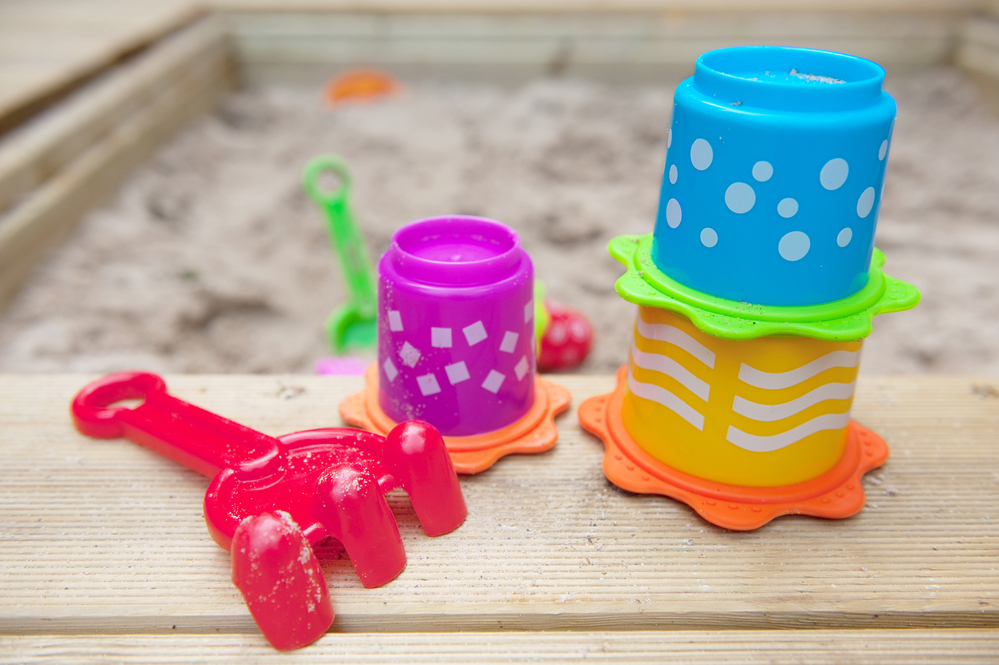
To get the most out of your sandbox, purchase a tarp cover, and a tall storage cabinet with doors to store shovels and pails. Having outdoor storage is a great way to keep toys organized, and is another easy DIY project that can be put together using wood, kitchen cabinet hinges, and cute cabinet pulls.
Stay tuned next month for another boredom-busting activity you can enjoy with your kids this summer, from The RTA Store!