Pinterest has given us DIY’ers a lot of inspiration, and most lately we’re coveting the genius ‘Penny Countertop.’ This simple way to update an old kitchen countertop or home bar is as inexpensive as it is eye catching. So where do you start? Just whip out your coin jar and follow this easy guide — and count on having a copper countertop in no time!
Step 1: Gather Supplies and Clean Pennies
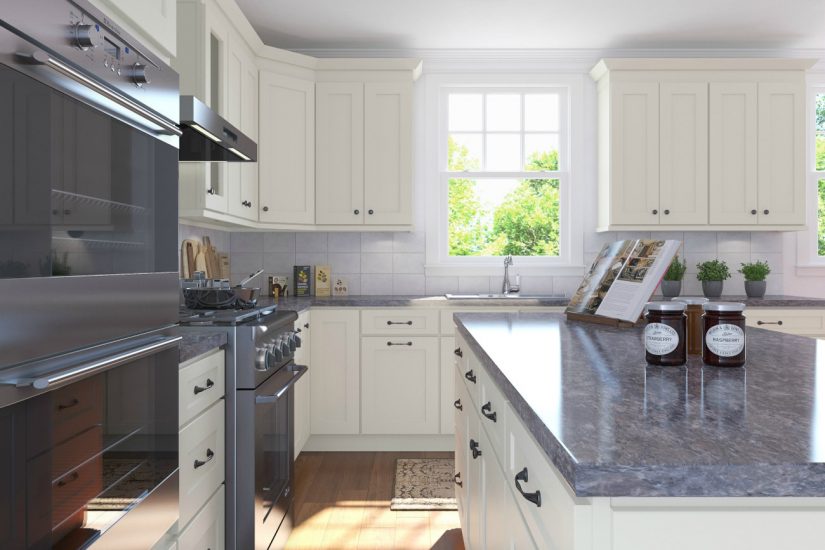
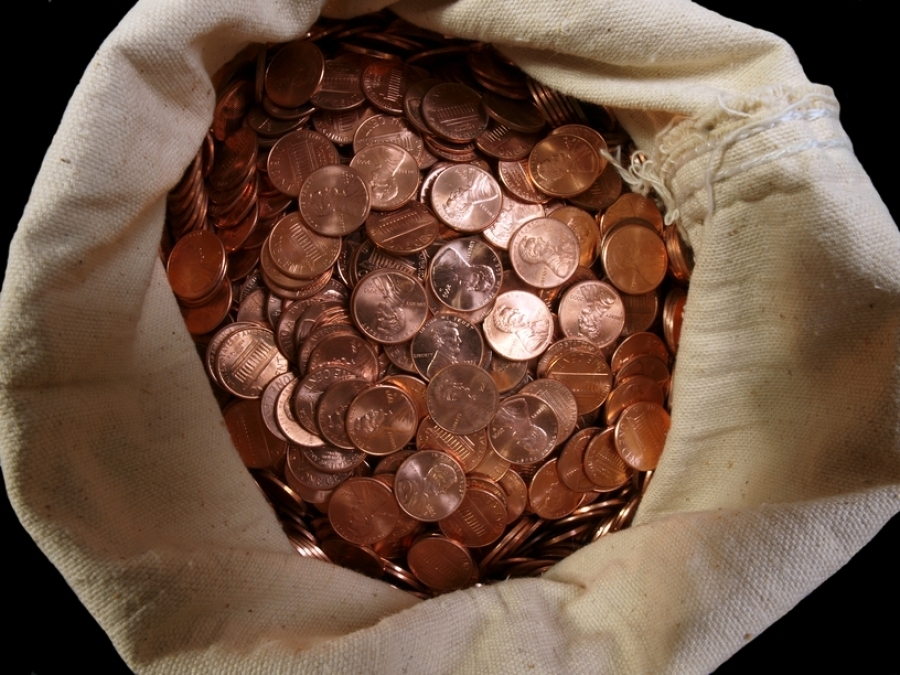
Before we explain how to cover a countertop with pennies, let’s start with supplies. Obviously you’ll need pennies — about 300 for every square foot. Additionally you’ll want sandpaper, latex paint (choose a color that complements your kitchen cabinets and the theme of the room as a small amount of the surface area will peak through), wood boards (to create a trim along the counter top), epoxy coating, carpenter’s glue, nails, and a putty knife.
If you want your coins clean and shiny you can soak them in vinegar mixed with a dash of salt. If that doesn’t do the trick, create a paste by mixing baking soda and water and scrub until you reach the desired look.
Step 2: Smooth Out and Paint Countertop
Get your countertop prepped by smoothing out any rough areas with your sandpaper, and then cleaning thoroughly to ensure no debris is left behind. Paint the countertop, and wait until the paint is completely dry before moving forward to the next step.
Step 3: Attach Trim
Use glue and nails to attach the wood boards along your countertop’s edge. Because you will be pouring your epoxy coating in later on, it is very important that your trim is secured and there are no cracks where the epoxy could leak through. If you are unsure, you can do a test with water first but make sure you fully dry the area before starting step four.
Step 4: Lay Your Pennies
Place pennies side by side along the countertop, starting from one corner and working in a straight line to the other end. If you need to, you can shave off some width or height with metal sheers so that your pennies fit perfectly.
Step 5: Pour Your Epoxy Coating
Protect flooring and kitchen cabinets before starting this step to avoid any damage. Once the area is protected, follow the directions on your epoxy kit for mixing. Begin to pour the epoxy over the coins slowly and consistently. Once poured, use a putty knife to smooth out any inconsistencies and to ensure that the epoxy has fully covered all coins. After a little time you will notice the epoxy will start to level out. If you notice any air bubbles you can use a hair dryer to shrink them down. Even after the epoxy dries you will want to wait a few days before using your penny countertop so you aren’t left with any marks or dents in the surface.
Follow our Counter Top Board on Pinterest for more exciting and fun countertop ideas. http://www.pinterest.com/thertastore/counter-tops/