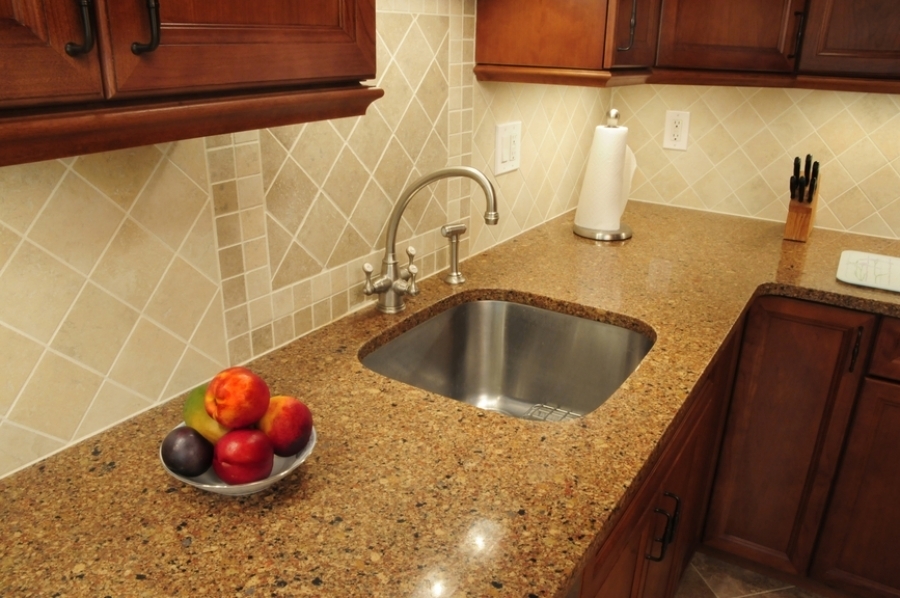
Installing a countertop is one of the final additions to a kitchen remodel and depends almost entirely on what will be beneath it. Since your kitchen cabinets serve as the support, they will be installed first, and will affect important parts of the installation process like the size of your materials and where your kitchen sink will go. When it comes to materials, quartz is a popular choice because it has the look of stone without the maintenance, and complements both modern and traditional styles of kitchen cabinets. Read on for our guide of how to install a quartz countertop.
Step 1: Prep the area.
If you’ve just installed kitchen cabinets or have done any other recent renovation to your kitchen, wait until any adhesive or paint has had time to dry. Shut off the water supply if you will be installing your kitchen sink and faucet as well.
Step 2: Measure your material.
You will want to double-check your measurements before cutting your quartz so that you aren’t left with wasted material. Quartz is best cut in sections based on the layout of your kitchen cabinets (for example, with an L shape your quartz should be cut in two pieces to join at the 90 degree angle). You will also need to cut out an adequate space to install your kitchen sink. You can do this yourself or you can request that the manufacturer or retailer cut the quartz before it is delivered.
Step 3: Do a dry lay.
Before installing a quartz countertop you will want to do a dry lay. This simply means placing the quartz pieces on your countertop to confirm they are the proper size.
Step 3: Install your kitchen sink.
Once you have confirmed your measurements, remove the quartz pieces and put to the side. At this point you should install your kitchen sink and faucet, because most find it easier working from above the space than below. If you don’t already have a hole for the faucet and anchors, you will need to drill these before beginning your installation.
Step 4: Install ledgers where needed.
If your kitchen cabinets will not support the entirety of your countertop you may need to install some ledgers to fill those missing areas.
Step 5: Protect kitchen cabinets.
Before applying adhesive, use painter’s tape to cover the edges of kitchen cabinets. This way if any adhesive spills over the face of your cabinets they will not be damaged.
Step 6: Install the countertop.
Cover the edges with adhesive and then place the quartz countertop on top of your kitchen cabinets. Seal joints by covering with painter’s tape on both sides and using clear silicone (or whatever the manufacturer of your material recommends). The painter’s tape makes the clean up easy and will protect the surface of your countertop.
Step 7: Hook up the sink and drain.
Now that your countertop is completely installed you can hook up your sink and drain. At this point you can turn your water supply back on and your new quartz countertop is ready to go!
