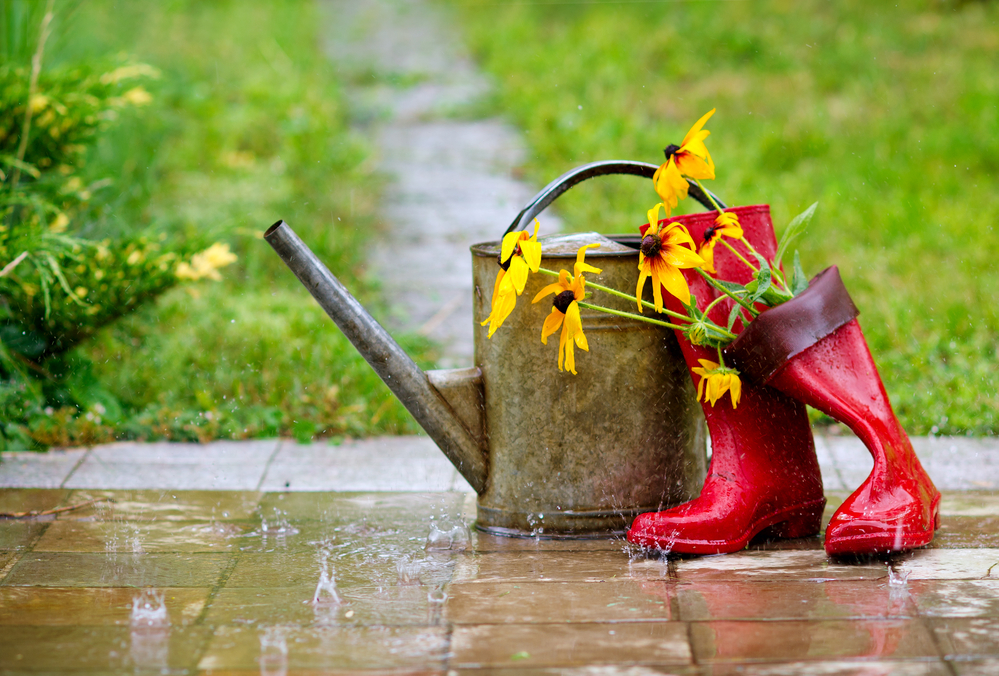
Everyone knows April showers bring May flowers! Spring is here and what better way to celebrate the season than by enhancing your garden. The beautiful greenery and blooming flowers are the main reason most of us love this time of year, so why not make your home a little happier? Take your garden to the next level by adding some DIY additions that will make having a garden easier and more fun. If you have an outdoor kitchen, then adding a rain barrel is the perfect addition.
Create A DIY Rain Barrel
If the idea of wasting water is stopping you from having a garden, worry no more. You can keep your garden flourishing without racking up a big water bill by simply stealing water from the sky. A rain barrel is a water storage solution that collects water when it rains to use later for watering your garden. You can make your own with a few inexpensive items and tools you probably already have in your garage.
What you’ll need: a large plastic garbage can, waterproof sealant, two rubber washers, two metal washers, a hose clamp, a spigot, and some landscape fabric.
What you’ll do: The first step in creating a DIY rain barrel is drilling a hole through the garbage can. You’ll want to drill your hole on the side near the bottom and make sure it’s the right size for inserting your spigot. From here is where you’ll be able to fill your watering can, so when positioning where the hole will go keep that in mind. You may also want to drill a second hole near the top of your garbage can act as a drain so that your barrel never overflows.
Next, you’ll want to put one of your metal washers on your spigot, followed by a rubber one to keep it in place. This will prevent water from leaking out of the garbage can. Apply a thin layer of waterproof sealant along the rubber washer, and insert your spigot into the hole. On the interior side of your garbage can, you’ll want to attach your second rubber washer to the spigot and follow with your second metal washer. You’ll then use your hose clamp for securing the spigot.
Your next move is to cut a hole in the lid of your garbage can to act as an entryway for the water that will fall from the downspout on your home. Then cover the lid with the landscape fabric to stop leaves, bugs, and other debris from entering your rain barrel. Put your rain barrel directly underneath the downspout of your home, and you will have your very own supply of free gardening water.
Set Up A DIY Potting Station
A potting station or potting bench is a great addition  to any backyard. It not only looks adorable but also creates a functional space for you to pot your plants and flowers.
All you need to build one is a little patience, some pressure-treated lumber, and a few screws and staples. You can even add a piece of mesh wire to the back of your bench to serve as a place for hanging tools. With your DIY potting station up and running, you’ll be pleasantly surprised how much more enjoyable maintaining your garden becomes.
Step into spring with a better garden. Make your own DIY rain barrel or potting station and start enjoying the most colorful season of the year right in your own backyard.
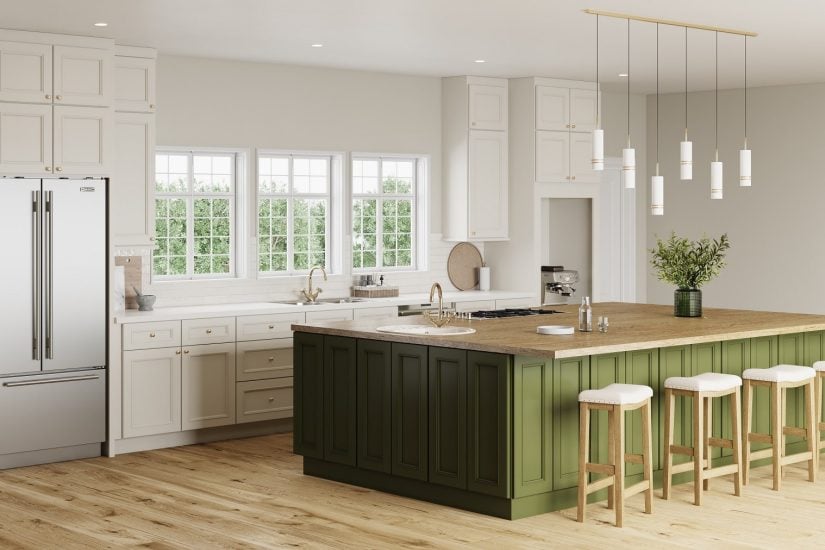
At TheRTAStore we help make your dream kitchen a reality with RTA (Ready To Assemble) cabinets, Pre-Assembled cabinets, and accessories with the same (if not better) quality you would find at any retail store but for a fraction of the price. Stop by our website or give us a call and let one of our friendly kitchen designers help make your kitchen dreams come true!
By: Korrie Martinez