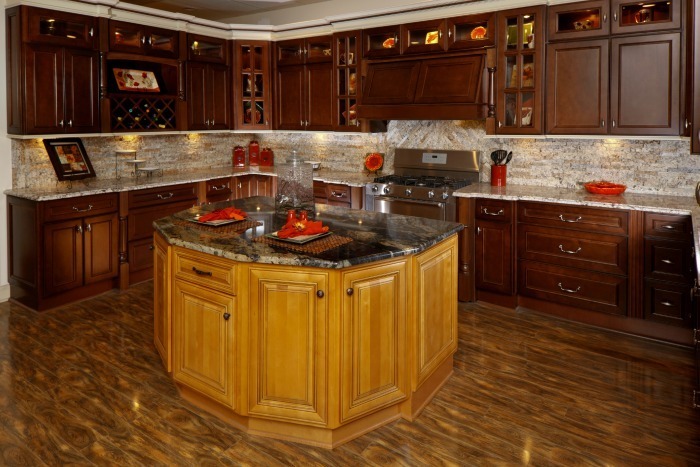
Are you thinking about installing a cork floor in your kitchen, but are not sure about how to install it? If so, you’re in luck as we’ve put together a fun and easy how to install a cork floor lesson for you on today’s blog!
Before you start, save yourself a headache and always make sure you’re prepared in advance with all the items you’ll need to complete the project.
Items you’ll need:
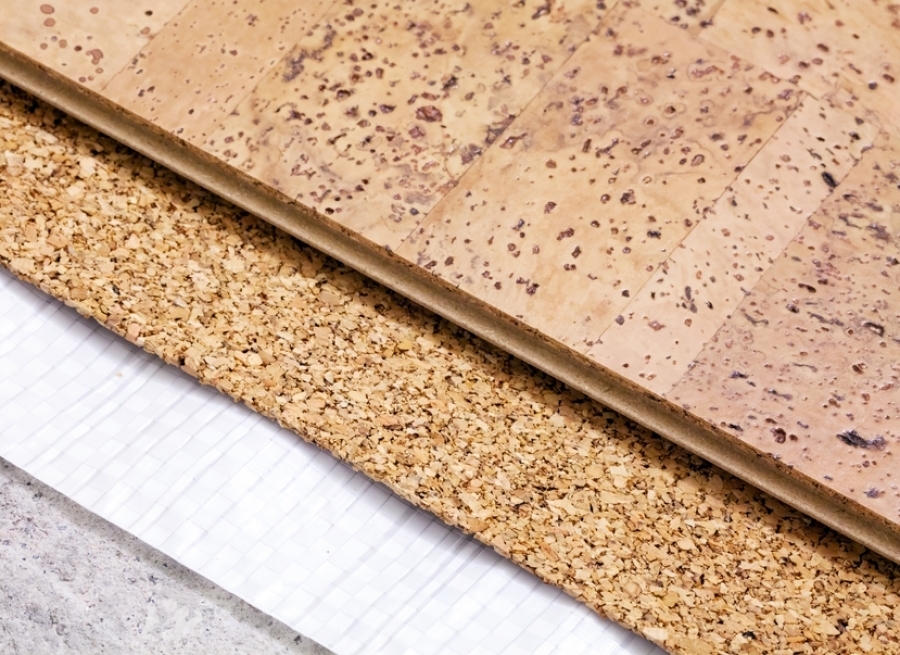
- Cork Flooring
- Flooring Underlay
- Measuring Tape
- Pencil
- Graph Paper
- Hammer
- Saw
- Goggles
There are four different types of cork flooring you can choose from. All will have their own type of installation. For the purposes of this blog we are using the snap together cork planks.
Step 1: Measure Your Room
Use a tape measure, pencil, and graph paper to measure the length and width of your room and calculate it into square feet. Add an additional 10 percent to find out how much cork flooring you’ll need for your project.
Step 2: Prep Your Floor
While we know you want jump in and start laying your tiles out and gluing them down to the floor, you’ll need to do a little prep work beforehand to make sure your floor will be installed properly.
Start by removing baseboards, base moldings, heating units, and any old flooring and strip it down to the plywood sub floor. If there are any cracks or holes you’ll need to make some quick repairs with a leveling compound to insure you have a smooth and level surface to install your cork floor.
Step 3: Allow Cork To Adjust To Room Temperature
After you’ve prepped your floors and purchased the cork, bring your cork boards into the room and allow them to adjust to the room’s temperature for a few days.
Step 4: Plan the Installation

Once the boards have adjusted to the room temperature, start planning the installation of your cork floors by first laying down the flooring underlay and then the cork boards. Measure the length of the room and determine how wide the last row will be.
Step 5: Installation

Start your installation by putting the tongue side of the boards to the wall and the groove side facing the room. Be sure to leave a little space between the walls and the cork boards to allow for expansion and contraction. Maintain installing the boards by joining them together and sliding the tongue into the groove of each board.
Once you get to the end of the first row, you’ll need to cut the end and then use that piece to begin your second row to offset the seams. Continue this process and cut the cork flooring as needed for any openings in the floor or to fit around heating units.
Step 6: Finishing Touches
Finish your cork floor installation by re-installing your baseboards and moldings and adding a transition strip to any doorways.
Looking for some fun and interesting DIY Projects or Flooring Ideas? Follow our DIY Tips and Flooring Boards on Pinterest.