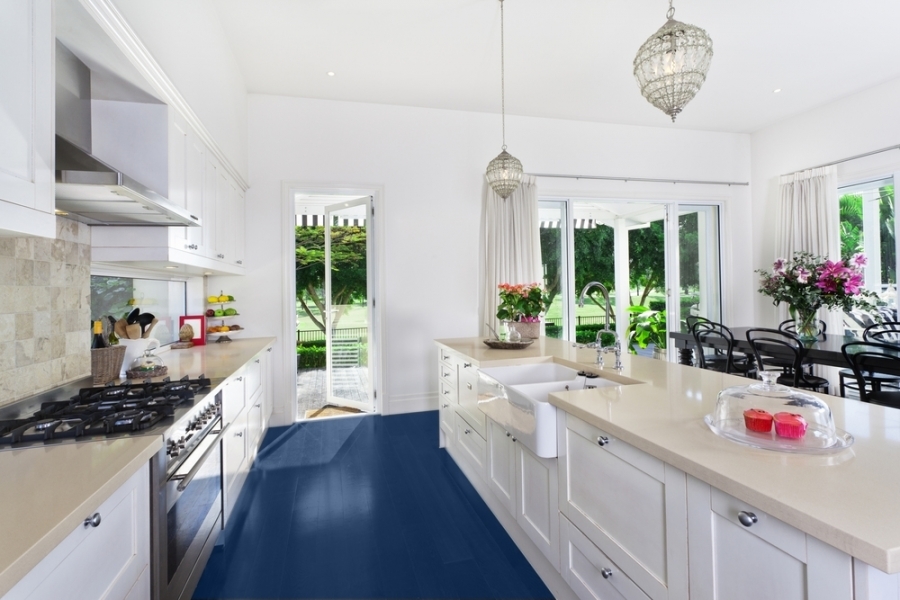
Easy to clean and durable, hardwood floors are one the top kitchen trends of 2016. But do your existing hardwood floors need a little love? As an alternative to refinishing, this affordable DIY update is perfect for a hard working kitchen! Paint can really change the look of a room, and your old hardwood floors are no exception.
Step 1: Start by prepping the surface with 150-grit sandpaper. Gently scuffing your floors by hand will allow the primer and paint to adhere. Remember, you are not making the surface completely smooth, just roughing it up a bit.
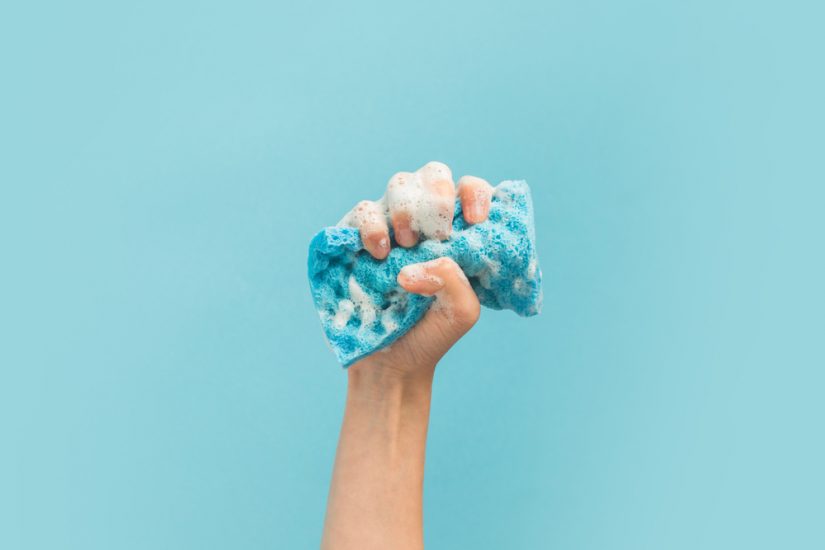
Step 2: Next, thoroughly clean your floors; first by vacuuming and then mopping, to remove all dirt and dust. Afterwards, be sure to let your floors dry for at least two days before moving on to step three, since moisture may cause the primer and paint to bubble.
Step 3: Give your floors a good sweep to pick up any last minute dust that may have accumulated, before rolling or brushing on the primer. We recommend using an oil-based primer to give a tight seal, but latex will also work fine. Your local paint store can help you decide which products to use that are low or no-VOC and made specifically for floors. But keep in mind that if you use an oil-based primer, your paint should also be oil-based, and if you use a latex primer, your paint should also be latex. Once finished, let the primer dry at least 24-hours.
Step 4: Gently sand the primed areas, this time with 250-grit sandpaper, and vacuum up the dust. Go over the floors twice to make sure you got everything!
 Step 5: Choose where you will begin paining and where you will end. You can choose to paint all one color or use painter’s tape to create a pattern on the floor using two colors. Begin slowly applying your paint in a thin layer using a natural bristle brush or small microfiber roller. Keep in mind that it takes longer to paint with a brush, but unless you are careful, a roller can leave air bubbles behind. So take your time! Let your paint dry at least 24 hours before applying a second coat, and then repeat the process again with a third coat. It may be time consuming, but you need to make sure each coat is nice and thin, and fully dry, before you add the next coat, for the best results.
Step 6: When you are finished painting, apply one or two coats of polyurethane, again allowing 24 hours to dry between coats. Appling a clear topcoat adds long-term protection and durability to your final product, so you can enjoy your floors for years to come! It’s smart to wait a few days after this final step to allow the finish to harden and cure before walking on your floors.
Painting older hardwood floors can update your kitchen without the mess and expense of refinishing. It may take a bit of time and elbow grease, but it will be worth it in the end once you see the beautiful results!
At TheRTAStore we help make your dream kitchen a reality with RTA (Ready To Assemble) cabinets, Pre-Assembled cabinets, and accessories with the same (if not better) quality you would find at any retail store but for a fraction of the price. Stop by our website or give us a call and let one of our friendly kitchen designers help make your kitchen dreams come true!