It’s not uncommon for wood furniture to outlast its finish. Scratches, chips, and daily wear and tear can all compromise the look, despite the structure remaining solid. While replacing your wood furniture entirely is a guaranteed solution, it might not be in your budget to do so, or you may want to hang on to what you have for sentimental reasons. Painting wood furniture is an affordable solution. Refinishing is another option that some DIY experts try and tackle. We know you want your antique table to look just as beautiful as your new kitchen cabinets! Here we’ll discuss how to do each to help you determine what route is best for you.
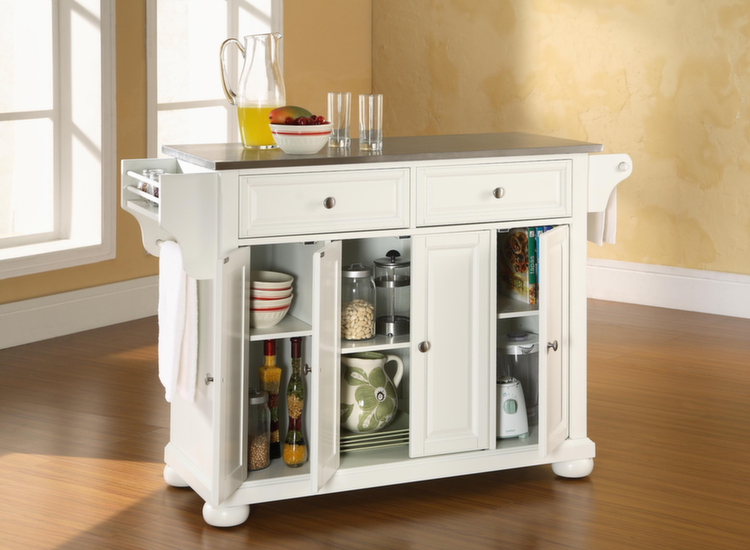
Painting Wood Furniture
One big determining factor for whether you repaint, refinish or replace is the extent of the damage. For minor wear and tear on wood furniture, you may be able to tide yourself over with a fresh coat of paint. Painting wood furniture is a fairly easy endeavor, and can be completed in just five steps. Here is what you’ll need to do:
1. Apply liquid sandpaper to remove the original paint.
2. Use a paintbrush or roller to put on the primer.
3. Once the primer has dried, use 220-grit sandpaper to sand the surface. After sanding, use a clean cloth to wipe away any dust.
4. Paint (preferably with a self-leveling formula).
5. Allow paint to dry and follow with a second coat.
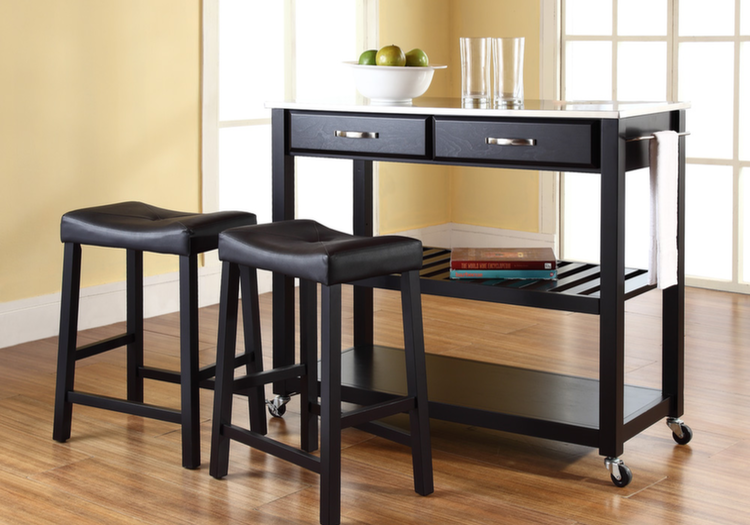
 Wood Furniture Refinishing
When the surface damage is a little more significant, a coat of paint might not be enough. Refinishing is your next best option to replacing wood furniture — but not necessarily an easy one. Furniture refinishing requires stripping, sanding and then staining the wood. Here are the steps that need to be taken:
1. Spray the surface with an aerosol paint stripper, taking the necessary safety precautions. Wait five to ten minutes until you see the finish begin to lift off.
2. Remove the finish using a scraper.
3. Repeat the first two steps (unless all of the finish was removed the first time around).
4. Wipe the surface with mineral spirits using a clean cloth.
5. Once dry, you can use a palm sander with 150-grit sandpaper to remove any remaining finish. You will keep sanding until you see bare wood.
6. To create a smooth surface, switch to 220-grit sandpaper. Once you’ve achieved evenness throughout, use a clean cloth to wipe away debris.
7. Apply your stain lengthwise using a stain pad.
8. Using a clean cloth wipe with the grain to remove any excess stain.
9. Repeat the last two steps, allowing time in between for the stain to dry, until you reach your desired look.
10. Finish by applying a final coat of clear, oil-based spray for protection and shine.
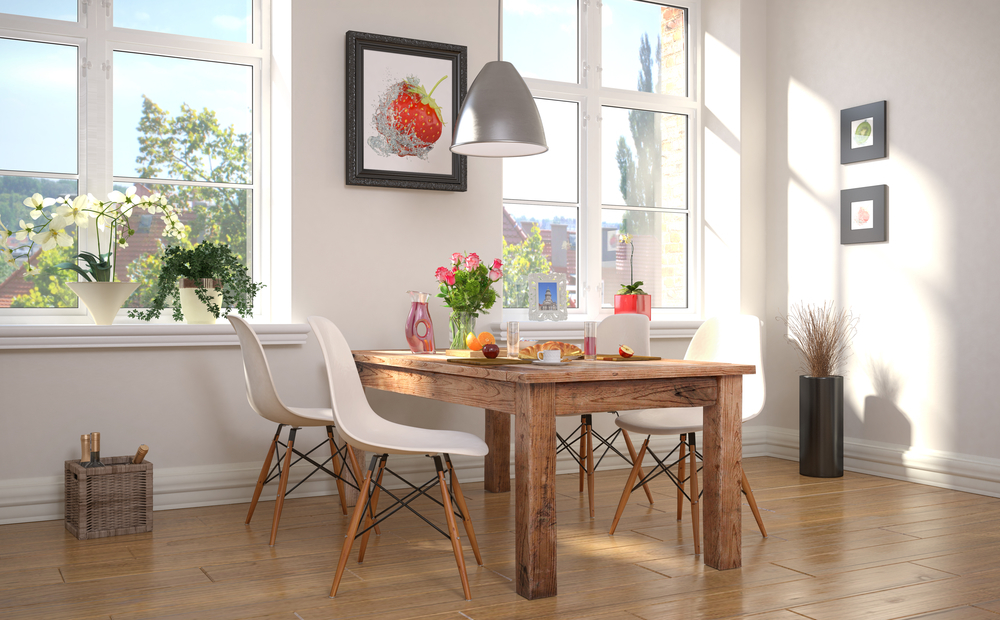
Replacing Wood Furniture
If your damage sounds beyond these DIY fixes, or you’d rather replace than repair, there are some affordable options. Take a look at reclaimed pieces on sites like Houzz. Reclaimed furniture can sometimes have a lower price tag, as they are made with recycled materials. Consignment shops, eBay and even local ads can all be good sources for finding slightly used gems at much lower price points that what you’d pay for new. You can also have luck shopping at discount stores like Home Goods or Marshalls. Overstocked or slightly flawed items are often sent to these off-price retailers and sold at deeply reduced prices.
At The RTA Store we help make your dream kitchen a reality with RTA (Ready To Assemble) and Pre-Assembled kitchen cabinets, and accessories with the same (if not better) quality you would find at any retail store but for a fraction of the price. Stop by our website or give us a call and let us make your kitchen dreams come true with the help of our free kitchen design tool!