Just ordered your RTAStore Kitchen cabinets and feeling a little overwhelmed at the thought of having to assemble a Lazy Susan yourself? Well, fret no more as we’ve put together a helpful “how-to” guide on assembling an RTA Store Lazy Susan.
Tools Needed:
- Power Drill
- Rubber Mallet
Step 1
Before starting to assemble your cabinet, the first thing you’re going to want to do is open the box and take out all of the parts and pieces. Set up an assembly line, and lay out all of the pieces in front of you, so you can take a look at them, and identify what they are, and how they will all fit together. Here is a quick guide to identifying the pieces for base/box assembly:
Toe Kick Left and Right Sides: These will be finished on one side cleanly and have a toe kick space cut out at the bottom.
Back of the left and right sides: You will be able to identify these pieces because of the grove that’s been milled out on the sides.
Rear back panel: The rear back panel has a unique cut that appears on both sides of the panel.
Trays: Included in your box should be a couple of trays, which may or may not be mounted to a panel.
Frames: There should be a side frame and a face frame.
Step 2
Start putting your base together by using one of the base trays. You’ll know which one it is by looking at the shape of the tray, which will be shaped the way the Lazy Susan will be built. Fasten the roller tray to the pre-drilled holes on the base tray using the screws and drill.
Once that’s done, the next step is to lay the base tray to the side, and then place the round tray face down on your work surface with the pre-drilled holes facing up so you can see them. Next, take the base tray with the roller tray already attached and place that on top of the round tray, making sure you line everything up so you can see the pre-drilled holes. After one hole is set you’ll be able to fasten all of the screws to it easily.
Step 3
Once you’ve put together your base tray, the next step is to assemble the box. Take your left side toe kick panel, and loosen the mounting brackets that are already attached to the toe kick panel. Doing this will make it easier to slide the clips of the next panel under it.
Attach your left side back panel to the toe kick panel by sliding the pre-assembled clips on the left side panel, under the pre-assembled mounting brackets on the toe kick panel. Screw them together carefully, being sure not to strip them, as the screws are small.
After you’ve attached the two pieces you’ll notice there are additional holes in the mounting clips. Use the large screws provided in the packaging to hold everything together firmly.
Set the left side base cabinet aside and then complete the same exact steps for the right side toe kick and right side back panel. Assemble your toe kick and move on to step four.
Step 4
After you have your left and right sides together, grab your face frame and decide if the hinged side will be on the right or left. You can identify this by looking at the long frame and seeing where the pre-assembled clips are already attached to the frame.

Attach the face frame clips under the pre-assembled clips on the cabinet making sure everything is flush. Once complete, move it to the side and work on placing the opposite frame on the other side of the cabinet using the same technique described before.
Step 5
Once the face frames have been attached to the left and right sides of the cabinets, it’s now time to put them together. Move your left and right side cabinets together then attach them with screws using the pre-drilled holes on the longer side of the face frame. Then be sure to attach screws to assemble the toe kick as well.
Step 6

After you’ve assembled the two sides, take your base tray with the Lazy Susan attached, and angle it down into the cabinet. Attach it to the cabinet with the screws using the pre-drilled holes. Repeat the same steps for the second level and move on to step seven.
Step 7
Slide your rear back panel into the grooves on the left and right sides of the cabinet. If you have trouble sliding it in, use the rubber mallet to help you tap it down, and then attach it with screws. Once that’s done, the last step is to assemble the doors.
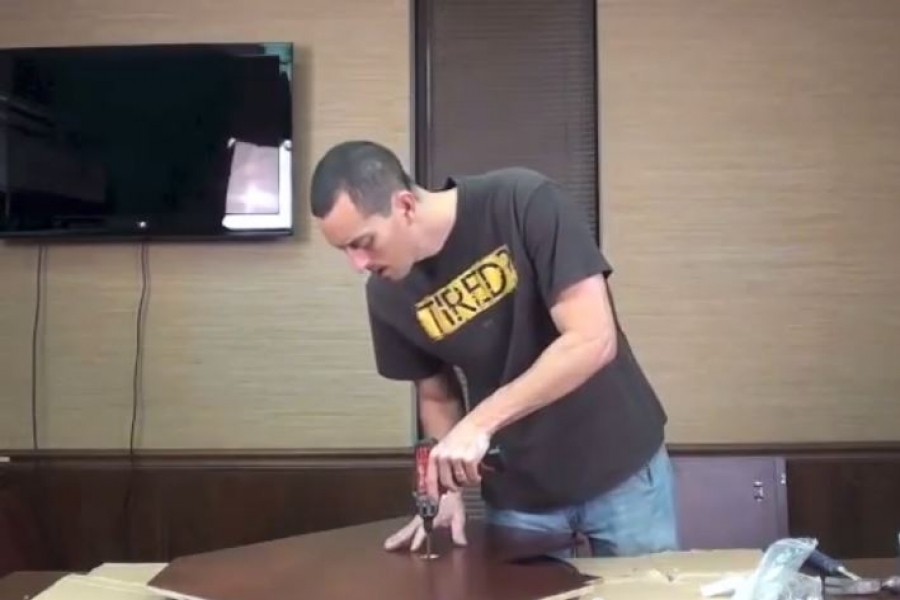
Need a visual tutorial on how to assemble one of our Lazy Susans? Then check out Parts 1, 2, and 3 of our How to assemble a Lazy Susan on YouTube!
And don’t forget to subscribe to our YouTube Channel for more helpful videos and ideas!