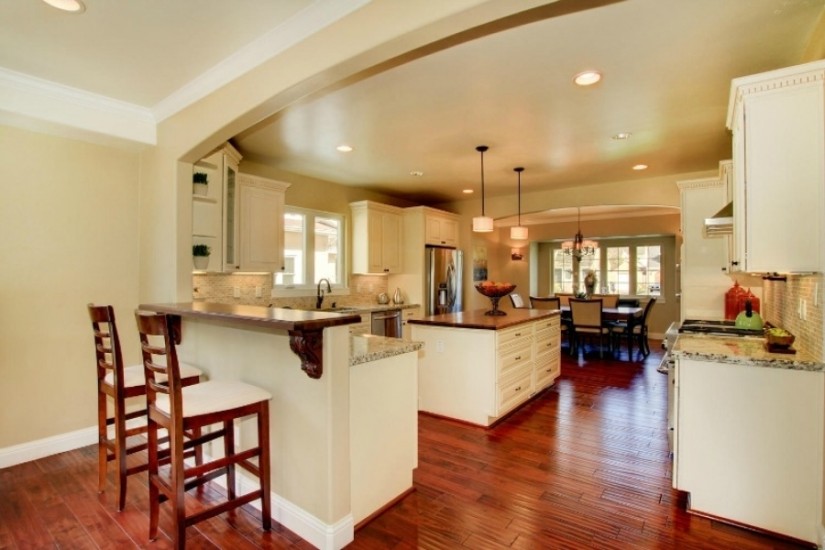
A kitchen is often referred to as the heart of the home. Sure, the way to many of our hearts is through our stomach, but this term was coined more for the leisure factor the kitchen provides. Kids sit at the dining room table doing homework, mom lingers on the phone while eating ice cream right from the pint, and dad uses the kitchen island as his personal newspaper-reading station. The kitchen is a popular room and its main attraction is how comfortable it feels. Add another element of fun by turning a wall into a chalkboard. It’s an easy DIY project the whole family can work on together, and create a space for doodling, tracking groceries, or even working out that extra complicated homework problem.
What You’ll Need:
- Ladder
- Sandpaper and pole sander
- Painter’s tape
- Latex chalkboard paint (enough for two coats)
- Paintbrush, roller, and tray
- Drop cloth
1. Fine Tune Your Project
Pick a space in the kitchen that can accommodate your chalkboard wall. You don’t want it right next to the oven so that you are climbing over kids when cooking, or so far off that it’s not a convenient way to jot down that you’re out of milk.
2. Prep Your Space
When painting a chalkboard wall you need to take the same precautions as with traditional paint. You’ll want to move any appliances out of the way, put down a drop cloth, and protect the ceiling, windows, framing, and kitchen cabinets using painter’s tape. When the area is ready to begin work, you will sand down the wall using your sandpaper and pole.
3. Paint The Edges
Using your paintbrush, you will map out the area in your kitchen that you’re creating into a chalkboard wall by painting the edges of your wall. Pour a little paint in your tray and begin to cut in. Take special care around windows and edges so you don’t extend your latex paint farther than your painter’s tape. Apply two even coats so that when you roll on the rest of the paint your edges will blend seamlessly.
4. Paint The Remainder Of Your Wall
Once you have cut in with the paintbrush, you can pour the remaining latex paint into your tray to roll out the rest of the wall. Cover a small space at a time and work to eliminate the ridges so you have an even finish. Resist the urge to roll paint up and down, and draw out W’s instead. Once you’ve applied your first coat, wait two hours before applying the second coat. To the touch, the paint may seem dry before that but it’s best to wait the full two hours. With the second coat, you will want to paint using minimal pressure. Too much force can result in an uneven finish.
5. Wrap Up The Finishing Touches
Before making any moves, you’ll want to give your second coat another two hours to dry. At that point you’re in the clear to remove painter’s tape, clean up and put appliances back in their place. As far as writing and doodling goes, give it a full day before letting your inner artist run wild.
At TheRTAStore we help make your dream kitchen a reality with RTA (Ready To Assemble) cabinets, Pre-Assembled cabinets, and accessories with the same (if not better) quality you would find at any retail store but for a fraction of the price. Stop by our website or give us a call and let one of our friendly kitchen designers help make your kitchen dreams come true!