Whether you are looking to cover an entire wall in your bathroom with tile, or just add an accent along an edge, you can DIY with this easy installation guide. Here we will break down the tools you’ll need and the steps you’ll take, giving you a comprehensive overview of how to install bathroom wall tile.
Tools You’ll Need to Install Bathroom Wall Tile:
- Tile
- Pencil
- Tape measure
- Level
- Thin-set mortar
- Square notched trowel
- Spacers
- Grout
- Margin trowel
- Razor blade
- Spray bottle (for water)
- Cloths
- Grout and tile sealer
Steps to Install Bathroom Wall Tile:
Step 1 – Your first step when you install bathroom wall tile is to create a layout. But before you get started, you will need to determine the size of your tile. This will help you set up your layout, and let you know if any areas will require you to cut tile down. To create your layout, use a pencil, level, and tape measure to draw out a grid on the wall.
Step 2 – Mix your thin-set mortar as instructed and use your square notched trowel to apply the mortar to your wall. You will want to create straight vertical ridges by applying the mortar in a controlled upward motion along the first horizontal line in your grid. Only cover enough space to apply a few tiles at a time.
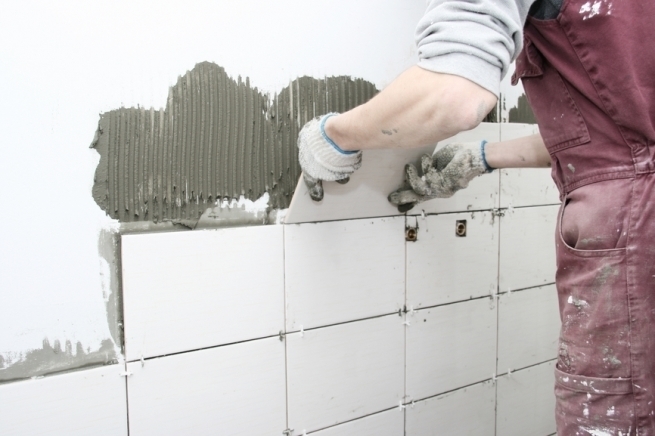
Step 3 – Begin to apply the tile, slowly and sturdily separating with spacers. You will want to ensure that the tile is making proper contact with the mortar but you do not want to press so firmly that the tile slides. If excess mortar oozes between the tiles, clean it off immediately with a paper towel or cloth before it is able to dry. Continue to apply the remaining tile, saving tiles that need to be cut for last. If applicable, apply the cap tiles at top.
Step 4 – You will need to wait at least twelve hours to let the tile set after this point. Some mortars take longer to dry than others, so read the instructions. You will want the mortar to be completely dry before you move forward.
Step 5 – Remove spacers and clean out any excess mortar with a razor blade.
Step 6 – Mix grout and apply it over the tiled area using a margin trowel. Let dry.
Step 7 – Check if your grout has finished drying by sticking your nail in between the tiles. Did it make an indentation? If it does not, this means your grout is dry and your project to install bathroom wall tile is near complete.
Step 8 – Use a damp sponge to clean the grout off the tile surface. Move in a horizontal motion and continually rinse the sponge so that the water you are using is clean. You will notice that the tile surface still does not appear completely clean. This is normal. Wipe down the tile again using a damp cloth and then again with a dry cloth. You may need to repeat this process once or twice before you get the finish you desire.
Step 9 – Continue to let the grout dry (about 24 hours), spraying occasionally with water. Once this process is complete you can apply a sealer.
Step 10 – Apply sealer smoothly with a sponge.