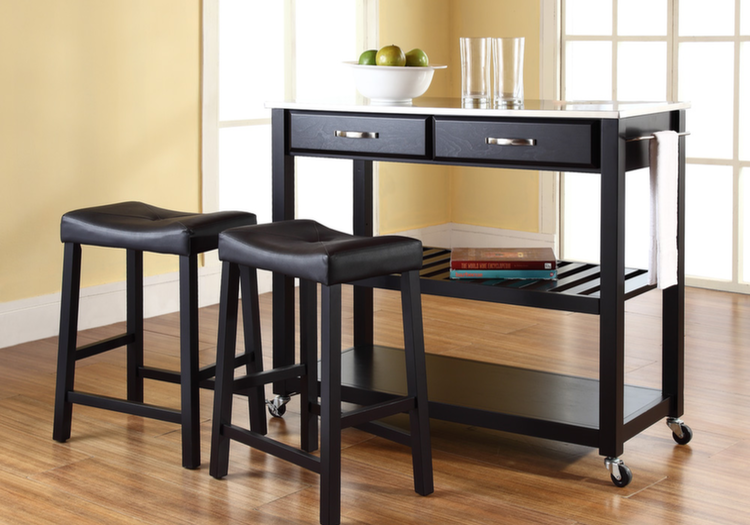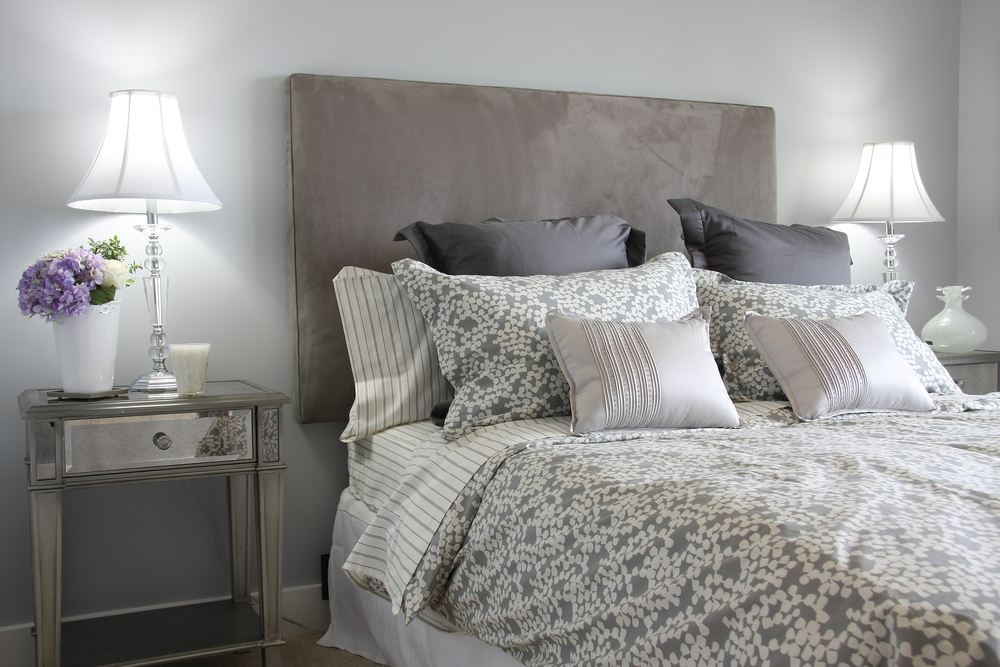
A bedroom is more than just cabinets for clothes, bedside tables, and a couple of lamps. The bed is the true focal point of the room and is much more than just a place to sleep. While a bed should be beautiful (and comfortable), it doesn’t have to be expensive.
 One of the bedroom design trends we are loving right now is upholstered headboards. Both cozy and elegant, they add instant charm to a room. Unfortunately, their appeal doesn’t come cheap. These fabric-covered headboards retail at a high price point. Luckily making your own isn’t out of reach. Take a look at what you’ll need to make an affordable and simple DIY upholstered headboard to pair with an inexpensive bed frame, and soon your bedroom will be much more than just cabinets and functional furniture.
Supplies:
½-inch plywood
1-inch foam
cotton batting
fabric of choice
multi-purpose spray adhesive
staple gun and staples
D-rings (2)
Screws or hooks (2)
Step 1: Cut out your headboard.
Depending on the size of your bed, you’ll need a ½-inch deep piece of plywood cut to meet your measurements. You should be able to purchase the size you need (just ask if you can buy your plywood cut to size). If not, all you’ll need is a saw to do it yourself.
Step 2: Size your foam and batting.
To cut your foam to fit your headboard, simply roll out the foam and place the plywood on top. Trace along the outer edge of the board and then use a utility knife to cut the foam. For the batting, you’ll repeat the same process except this time leave a few inches of batting around each side of the board so that you can easily secure it to the back.
Step 3: Attach your foam and batting.
Place your plywood down and attach the foam using spray adhesive. Follow the recommended drying time on your bottle before moving on to the batting.
To attach the batting, drape the batting over the board (foam side up) and center it. You’re then going to flip over the plywood so the batting is now facing the floor. Using your staple gun, begin attaching the batting to the back of the board, pulling as you go along to keep the batting taut.
 Step 4: Attach your fabric.
Attaching your fabric will be just like attaching the batting. Flip the board back over (foam side up) and center the fabric over the board. If you’ve chosen a light colored or delicate fabric and don’t want to put it on the floor, you can lean it against the wall as you staple. Just use clamps to keep the fabric in place as you rotate.
Step 5: Screw on your D-rings.
Your D-rings are going to allow you to easily secure your headboard to the wall. Screw one into the upper left and right quadrant of the board. Measure from the top of the board down to make sure your D-rings are even with each other, and so you know exactly where the headboard will hook on the wall.
Now that your headboard is ready to hang, determine where your headboard will go and mark off on the wall where your screws or hooks should go. Make sure you are taking into account the D-rings position on the headboard!
At the RTA Store, we know you want your entire home to be beautiful, not just your kitchen and baths! And we also love a good DIY project. That’s why we offer both pre-assembled, and ready to assemble cabinets at a price you can love!
At The RTA Store we help make your dream kitchen a reality with RTA (Ready To Assemble) and Pre-Assembled kitchen cabinets, and accessories with the same (if not better) quality you would find at any retail store but for a fraction of the price. Stop by our website or give us a call and let us make your kitchen dreams come true with the help of our free kitchen design tool!