You are in love with your RTA antique white cabinets and want to add furniture pieces to complement your modern farmhouse theme. For a DIY enthusiast, achieving that vintage look is not as hard as you may think! Learn how to transform plain, inexpensive new furniture and yard sale finds into gorgeous distressed pieces with vintage flair.
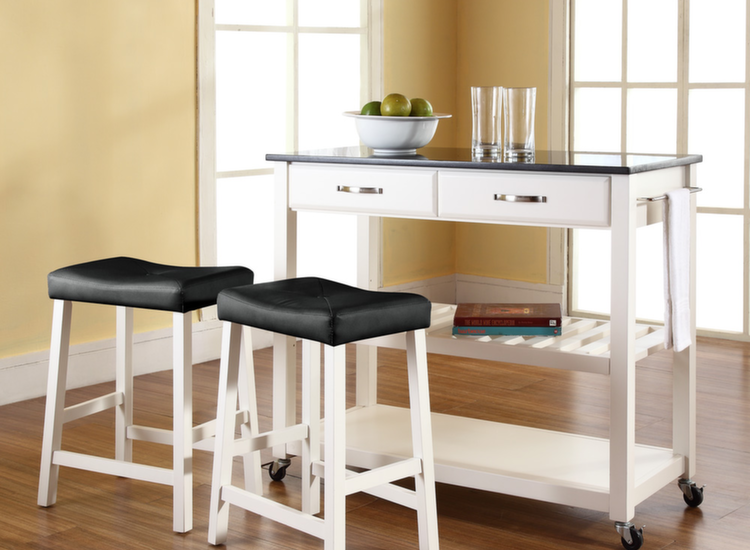
Kick your project off by hunting down the right furniture for your space. Just keep in mind that a hand painted finish isn’t nearly as strong (or chip, stain and water resistant) as a factory finish, so it’s smart to stick with accent pieces rather than furniture that will see a lot of use.
Step 1: Gather
To distress furniture, all you need is sandpaper, two paint colors, a container or bucket for mixing your paint, a paintbrush, and a foam brush. To protect the area where you are working, you’ll also want a drop cloth to place underneath the furniture.
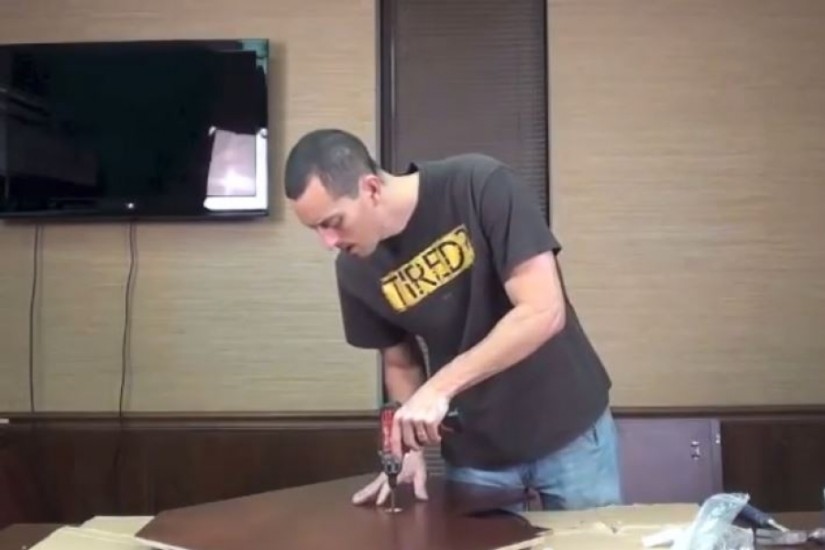
Step 2: Sand

The first step in this DIY project is to sand down the surface of your furniture. Don’t worry about making it even or pretty. You actually want some areas to be sanded more than others. This will help you achieve that distressed look. Use a rag or cloth to wipe the area clean after sanding to remove any particles or debris.
Step 3: Dark
We mentioned before that you need two paint colors. You can go with two of the same color in different shades, or two totally different colors that complement each other.
Start with whichever color is darker and apply a thin coat to your furniture. You want the wood grain to peek through, so don’t press too hard or use too much paint.
Before you move on to your second coat, you’re going to want to give your first coat a full 24 hours to fully dry.
Step 4: Light
The following day, you can jump back into your project. Now you’ll use your lighter shade to mix a paint wash for your second coat. Pour the paint into your container and add a tablespoon of water at a time until you achieve a thin wash.
Paint on this coat using your foam brush. If you notice the paint is bubbling a little bit when you apply it, you might have made it too thin and will want to add a little more paint to your wash.
As you apply the paint wash, you can wipe some areas with a paper towel so that your furniture doesn’t look freshly painted. Wait another 24 hours for this coat to fully dry.
Step 5: Distress

After you’ve finished painting, if you feel like your furniture could benefit from a little wear and tear, grab your sandpaper one more time.
You can give your piece of furniture that truly vintage look by lightly sanding corners and edges. This will allow the furniture’s original finish to show through and make it feel more authentic.
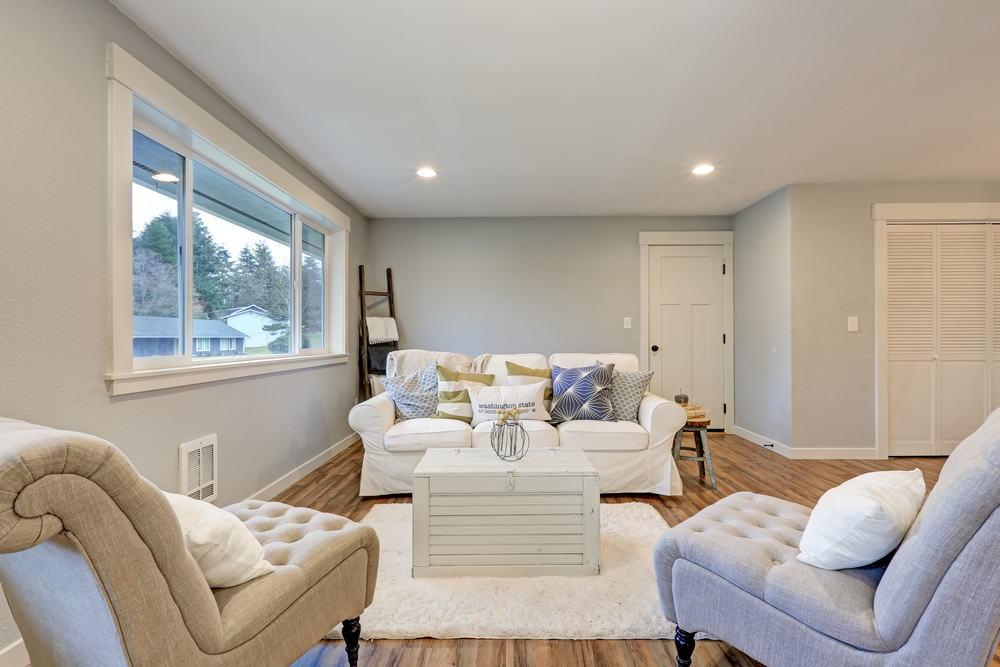
Thanks to your amazing DIY skills, you now have the perfect “vintage” accent pieces to compliment your RTA antique white cabinets and modern farmhouse theme.
At The RTA Store we help make your dream home a reality with RTA (Ready To Assemble) and Pre-Assembled cabinets and accessories. Whether it’s your kitchen bathroom, laundry room, home office, bar room or TV room, we offer the same (if not better) quality you would find at any retail store, but for a fraction of the price. Stop by our website or give us a call and let us make your dreams come true with the help of our free room design tool!